We were lucky to catch up with Jim Melcher recently and have shared our conversation below.
Jim, looking forward to hearing all of your stories today. What was the most important lesson/experience you had in a job that has helped you in your creative career?
Take care of the customer.
I am a photographer in my retirement years, but I spent my “first career” as a contractor. I have learned that when you concentrate on satisfying the customer’s requirements, even at some sacrifice, it pays off both with that customer and with the people they will refer.
We had weak concrete delivered on a very large foundation for a river crossing. The customer was very displeased. I personally went immediately to the site to examine the foundation, and take some samples for testing. The samples revealed that there was too much entrained air in the concrete. The fix was not terribly expensive, and the customer’s displeasure was displaced to the concrete supplier. I think we did a significant part of our volume over the next decade due to our response to that problem.
As a photographer, I would anticipate that the corollary experience might be working with a portrait subject to achieve their vision, to make them feel good about how they are represented. If that requires an extra sitting at no additional charge, that’s what I will do.
Jim, love having you share your insights with us. Before we ask you more questions, maybe you can take a moment to introduce yourself to our readers who might have missed our earlier conversations?
My first camera was a Diana that I won selling newspapers for my paper route. I still have a couple prints from that camera. I was drawn to self-expression through visual means at an early age. At the same age, I did a lot of photo-collages and drawings. Being the seventh child in a family of nine children, I did not think of the “good cameras” as something for me. I aspired to excellence, but I did not aspire to the best equipment.
Perhaps that is why I mainly do analog photography today. I shoot with a Nikon SLR or a Rolleiflex, usually, but with the cost of used film equipment, these days I can afford the “good cameras” I used to consider out of reach.
My work is mostly personal projects, for which, when it is black and white film, I develop myself and print myself in the darkroom directly below where I am now sitting. Since I come so late to the analog process, I am mostly recreating an almost archaic workflow, and I enjoy the historic aspect of the feeling that provides me. Whenever possible, I like to have that joy in the historic show through in the finished work, but not in an obvious or obtrusive way. For example, I acquired an adjustable soft-focus lens for the RB67, but I can only use it in its lowest setting, because the other settings draw too much attention to themselves.
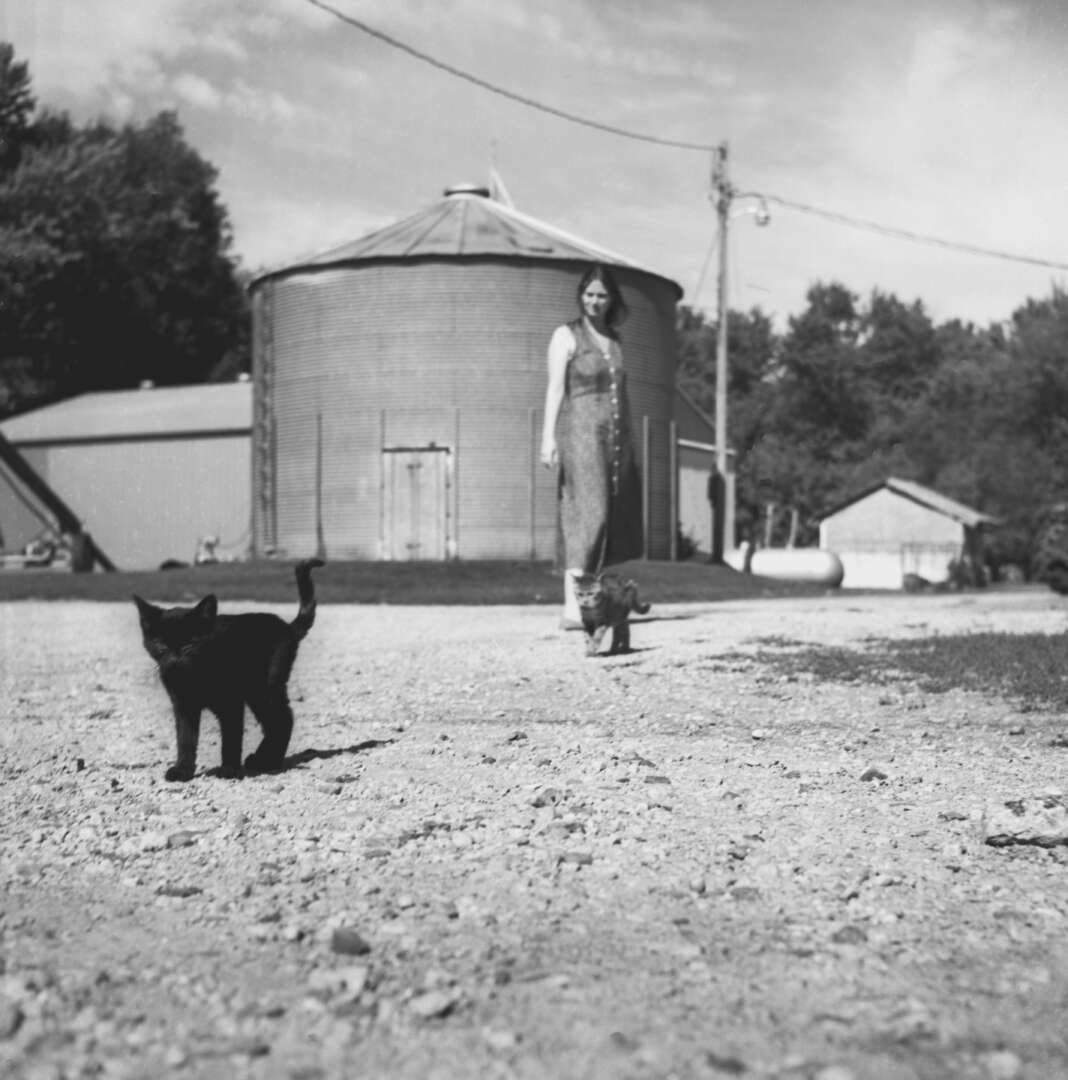
However, it can all come together when the subject is also an historic re-creation, as it was for a photo shoot for my daughter, Greta Ruth’s song, “Heaven After.” (I also shot the music video for her on Super 8: https://youtu.be/5Q_VOFS3DBY?si=RT-p5b2Y_YqsYPZ6.) The song is inspired by stories from her grandmother, Hilde’s musical endeavors–and by a photo of Hilde in her twenties holding a guitar. I scouted a location to match as best I could the exterior where Hilde had posed for her portrait. I used an eighty-year-old camera that could have been the one that took the original portrait. The final image is an un-ironic tribute to Hilde that complements the contents of the song very well.
I have worked in a lot of formats, from 110 to 5×7. All of these have their application to provide the viewer a unique experience that can can express particular things no other format can achieve without compromising authenticity. For work that starts or crosses over to a digital workflow, I have also learned to use Lightroom and Photoshop to enhance my “offering.” Sometimes, as when I recently did a personal landscape project, even the original photos were digital.
The project I am most proud of is the album cover I did for Greta Ruth’s latest album, “Holy Omen.” You can see the album cover at any music streaming site. The cardinal landing on the branch was added afterwards, but the branch was my own idea. For this shoot, I had altar panel-paintings from 15th-century triptychs in mind. Again, once you know that, the influence is clear, but not obtrusive. This was shot on film, then scanned and edited digitally. It took a lot of editing to make what you see.
Looking back, are there any resources you wish you knew about earlier in your creative journey?
I read as much as I could of the classic series by Ansel Adams, 1 The Camera, 2 The Negative & 3 The Print. While I found Adams’ writing somewhat indigestible, with the help of many other resources, I got the gist of what Adams meant by “The Zone System”–a way to pre-visualize your work with the limitations of the media well in view so the end result can be achieved with the minimum effort. Getting these concepts to be somewhat instinctive was the first step.
But I didn’t make great strides in the darkroom until I discovered a couple books from Lustrum Press, called “Darkroom” and “Darkroom 2.” In each book, a dozen photographers describe their workflows that lead to a specific result, or series of results. The books swiftly review the choices, experiences and applied techniques of these renowned artists, which greatly boosted my appreciation for what could be achieved and how. It was like suddenly having two dozen mentors, or two dozen mini-workshops. I recommend these two books often.
We often hear about learning lessons – but just as important is unlearning lessons. Have you ever had to unlearn a lesson?
I think I am in the midst of this right now. I also think it is a mistaken lesson that many analog photographers have not corrected in their work.
There is a method of swiftly arriving at an acceptable result in the darkroom called “split grade printing.” It is a tremendously powerful and useful technique, but up to now I have been using it pretty mechanically and unimaginatively.
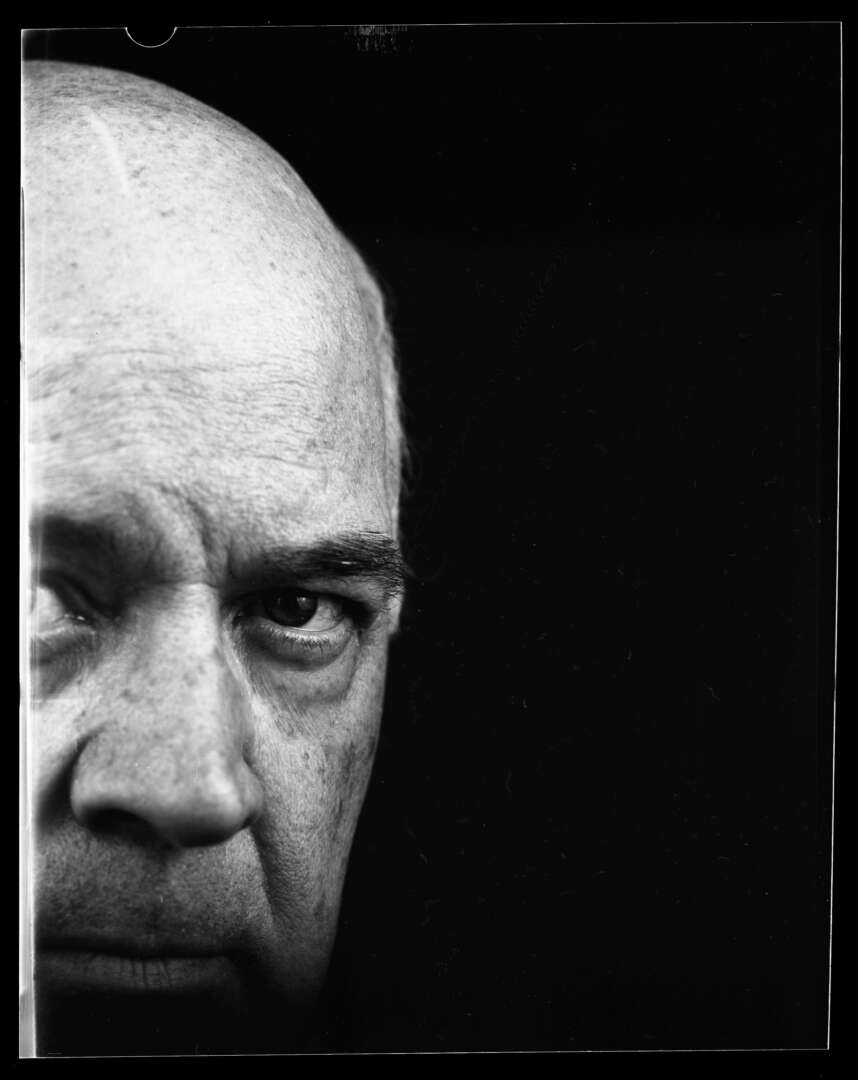
Without being too detailed, in printing a black and white image, the photographer uses a yellow filter (called the Zero filter) to establish the light tones, then a cyan filter (called the Five filter) to establish the dark tones. Finally, the photographer uses each of these two filters in succession on the same piece of paper to get the finished print.
What this neglects to appreciate is that many photographs keep their most important information in the mid-tones. What I suspect at this moment is that unless I learn to use filters 1-4, not just 0 and 5, I may be doing an injustice to the mid-tones–where my most important information resides. What I think will be the breakthrough will be when I can recognize, from just looking at the negative, what filter(s) I should use to print the negative to achieve my vision. I am still on this journey–my intuition might not be exactly correct–and there is a lot of fun experimentation ahead to get to where I need to be.
Contact Info:
- Website: https://boxspeed.us
- Instagram: @deej1026
- Twitter: @fotodeej
- Youtube: @jimmelcher
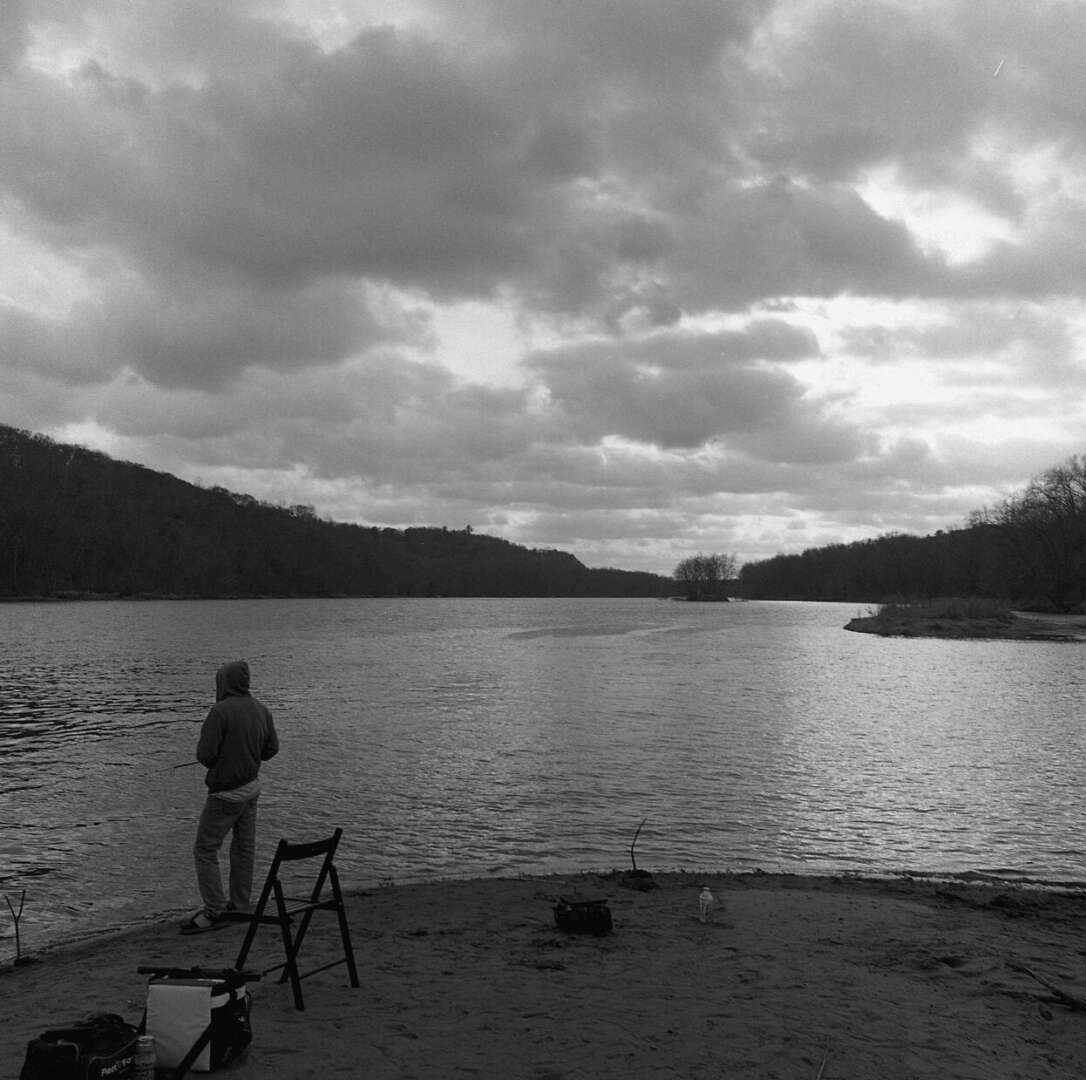
Image Credits
All images copyright Jim Melcher.